How to Resolve iPhone4 Audio IC Fault
Following are all the possible iphone 4 audio that your phone may encounter:iphone 4 Buzzer problem,iphone 4 Audio Jack problem,iphone 4 MIC Problem,iphone 4 speaker problem.
No matter what type cell phones are or what faults they have, if you want to fix them efficiently, it's very necessary to know the basic circuit board construction, and what features for their normal working state! This article will tell you how to judge and fix iPhone4 audio IC fault, first you should know what are them:
• u62--audio transfer IC
• u70--headphones control
• u62 / u70--mutual switch among several modes(normal mode, hands-free mode, headphones mode)
• U70--audio signal processing
• u5--ringtone amplification
According to the function of these ICs, we can make preliminary judgement:
1. If both the ringtone and calling voice you can't hear, check u60
2. If the ringtone is normal, but the voice when calling is abnormal or there is no voice at all, check the parts U62 U70
For instance, while calling voice is abnormal but sound recording function is good, it will make you get the idea that microphone got fault. However, this should be excluded firstly as there is no problem with recording sound so that we can judge microphone is good, obviously, it's the fault on swith part, which means the point you should pay attention is U62 part.
3. If you can hear voice when calling, but ringtone and handsfree function cannot be worked on iPhone, we can see the fault must be from U5
4. Another fault is not easy to make judge on schematic diagram if you have no enough experience: After turn on your iPhone and slide the screen lock, the device get crashed, slow down or show white Apple signal so that you cannot enter into system , it is because of the abnormal working of U70.
We received iPhone4 with fault on audio parts, there is no calling voice but the recording voice is normal, we judge that the fault is from audio shift function, how to solve? --Replace U62
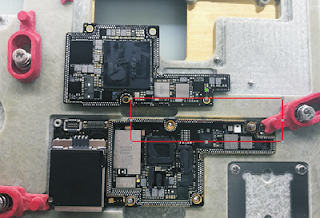
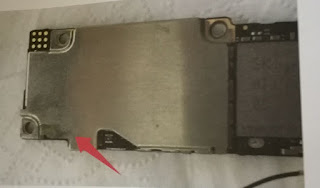
Step One: Remove motherboard, cutting the shield around U62 if you are not good at soldering, it will takes a longer time to remove it. For protecting the cpu near U62 when desoldering, you must use heat resistant tape on A4 and WIFI module.
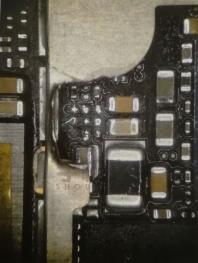
Step Two: The temperature of hot air gun should be controlled between 270-300, remove the nearby black glue by knife or needle.
Step Three: During the disassembly process, you need to be patient. Gentlely pick up the U62 IC after solder melted.
Step Four: After removing U62, use solder line to clean then remove the adhesives. Reballing U62 by stencil and place it into motherboard. Then check whether the current is normal. If yes, the cellphone can works well, it means the complete operation is successful!
More pratical examples for cell phone repairs read at VIP Pro Shop Team.


Comments
Post a Comment